Pages

About Me

Thursday, August 2, 2012

The Proposal!

My darling and I have been together for over two years now and we recently decided to get hitched! We had all of these grand plans to wait until summer of 2013 so that we would have time to save up for the wedding, but realized that since we felt called by God that this is our time to get married (and because we're thrifty as all get out...aaand I'm a tad obsessive over things) we just decided to go for it!!

About a week or so into June, we decided that we were going to get married this year...in September. We skyped with my parents in California and called his parents on the phone and told them of our plans/asked for their blessings. We were blown away with the trust and support that we got from them and this solidified our decision to have a short engagement.

My mom had in her possession a white gold ring setting that had been my paternal grandmothers that my grandfather bought for her on a trip to Amsterdam in the 80s. I hadn't seen it or tried it on in the years since I last played in my mom's jewelry box, but I knew I would either absolutely adore it or abhor it. I knew it had diamonds on the side but I couldn't remember if they were nasty rectangle 80s diamonds or something better. My mom said it was mine if I wanted it and sent it up to me. It was perfect! We had looked for rings before at jewelers and I hated everything I saw. Too flashy, too boring, too pricey, too popular, just plain not me. This ring is classy, unique, (free), one of a kind (unless I go to Amsterdam! :P) and absolutely fitting to my personality. Sean bought a diamond for the middle (my mom has the original in her wedding ring) and we were set!

During this time, I had come down with an awful flu virus that was the sickest I could ever remember being. I went to the ER, urgent care, and my naturopath all in one week! We knew that Sean would have to propose relatively quickly if we were to begin planning a wedding in two months so we were so bummed when I got sick and couldn't ever seem to stay feeling better. I finally felt better on June 27, and he told me that we were going to go on a date and I should dress up. I knew what was coming but I was still excited because I didn't know how he was going to do it. While I was getting ready, I received a barrage of text messages that looked like this....


He's the sweetest and so thoughtful to surprise me with these!

I dressed up and put on a few pounds of makeup in an effort to not look like I'd been throwing up all week! :P


He drove me to Snoqualmie Ridge, one of our favorite date places with an awesome view of the mountains and we had a picnic with all of my favorite foods that he had picked out!


Neither of us quite remember what he said, but the part that stuck with me is that he asked me "to do me the honor of becoming my wife." I said, "absolutely!" and gave him a huge hug!


 We're sometimes a little silly...sometimes. 


The ring!!!


Happy, happy, happy!!! This is my favorite picture from the night. 


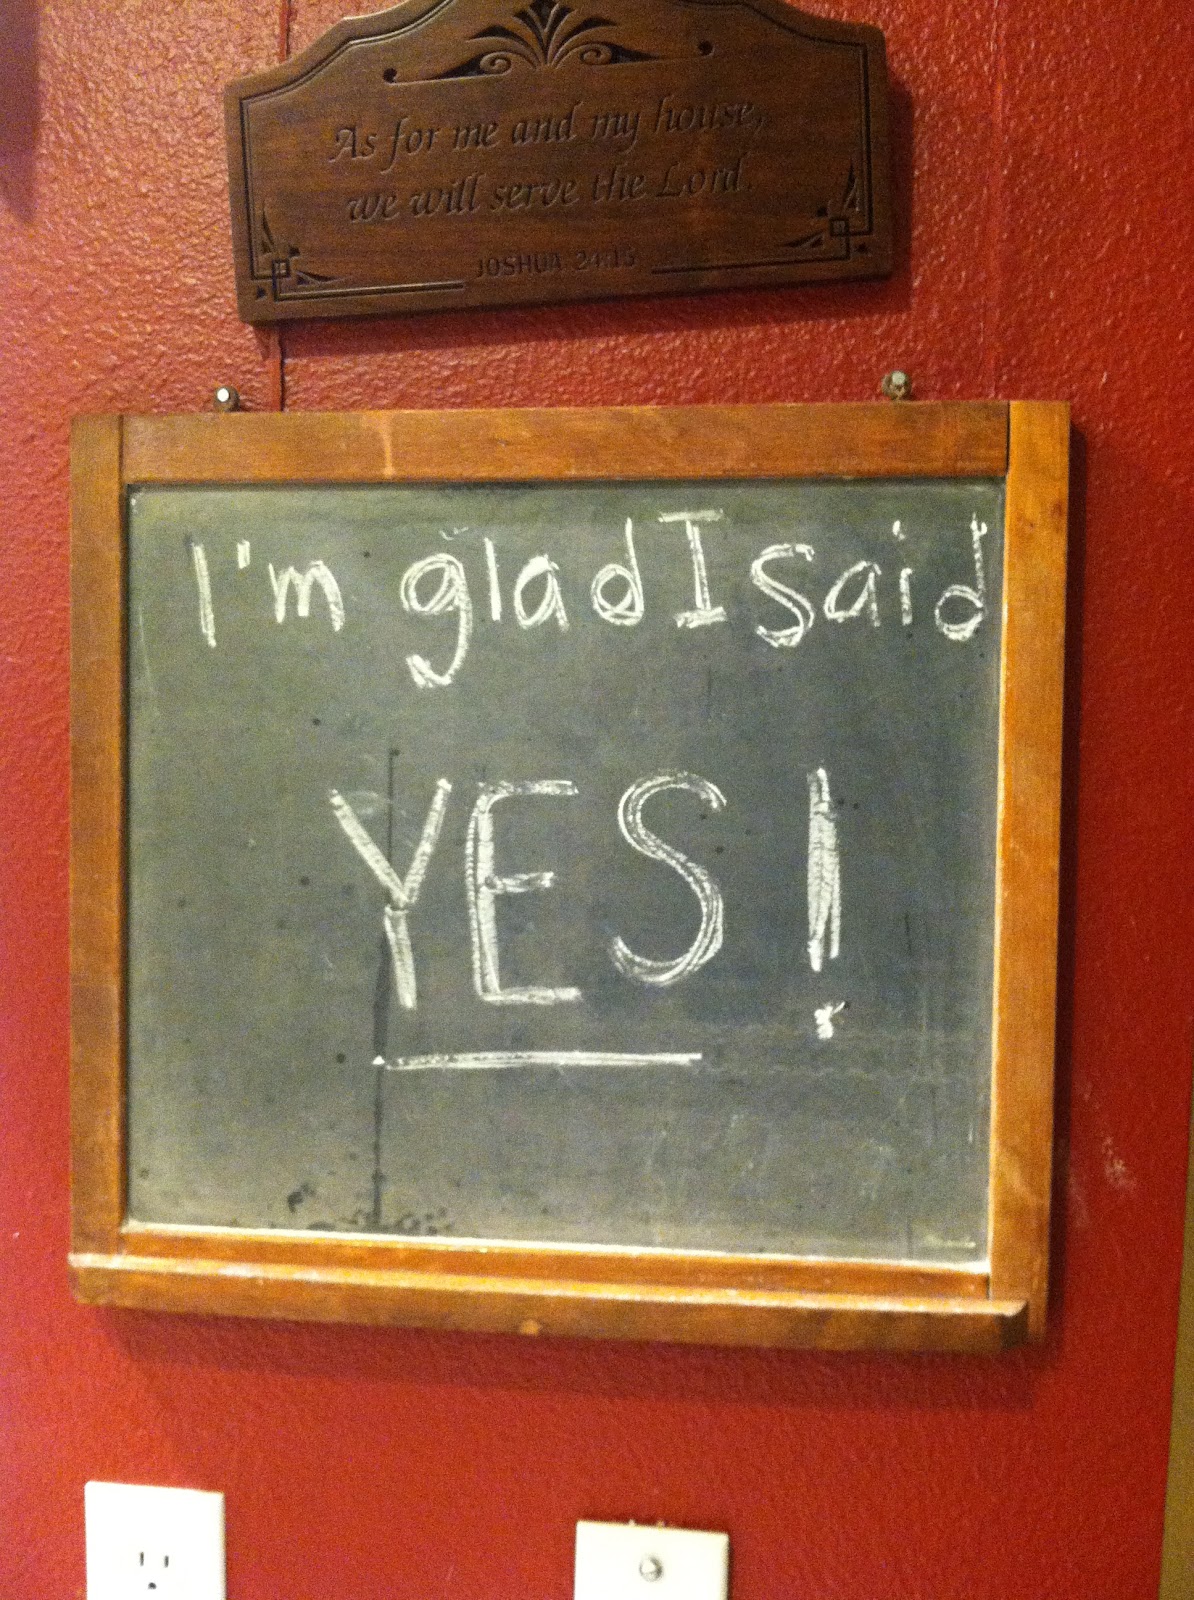
When I got home, I sent him this...

:)


Wednesday, June 6, 2012

Sea Glass Votives

I have found yet another way to display my sea glass. :P


I adore these adorable things! They make me smile every time I see them.

Also...I noticed while I was sorting through my glass that either my boyfriend or I found a veeeeery light lavender piece!!! It's one of the hardest colors to find!! I think I'm going to make that one into a necklace. :) 

Seattle Lines.

I'm sitting on my comfy couch with my kitty snuggled in my lap and crafting stuff strewn about the room. I've just started a new job where I get to make people silly coffee drinks every day and get to know them as people instead of customers. Because I get to turn off my mind while I make coffee and pretty much just clean and talk all day (my dream!) I have had such a surge in my creativity lately! I am actually thankful that I don't have a creatively draining job, because I get to use it as an outlet when I get home!

This drawing is something that I made for my boyfriend for his birthday last August, but it's been framed horribly so I never took pictures of it until now. I took this picture on our way to the Seafair parade in Seattle last summer and I loved it because of the strong lines. Also, the train, lights, old buildings and Space Needle poking up in the back ground are such Seattle things to me.


I took this picture, turned it grayscale and printed it out and traced it meticulously for a few days. 
I followed the structural lines and tried not to add any fluff that would distract from the linear qualities. I messed around with making a copy with some color and bolded lines, but it looked messy, so I went back to this one.

Here's the finished product. 


It's simple but was a lot of fun to make. I'd like to experiment with more in the future.


Tuesday, May 22, 2012

How to Brew Kombucha Like a Rock Star!


        One whole batch of Kombucha mixed with organic fruit juice and double fermented. 


I experimented over many months to find the perfect balance of brewing kombucha. I found a way to brew a delicious beverage that is sweet, fruity, and really bubbly once bottled, just how I like it!

These instructions may look daunting, but once you've done it for the first time, you'll have it down! It's easier than it looks!


What you need:


A SCOBY (A Symbiotic Culture of Bacteria and Yeast)
A little bit of Kombucha tea from the previous brew (I also got this from the lady who gave me the SCOBY) (or apple cider vinegar)
A one gallon glass jar (it must be glass, anything else can damage the SCOBY) I use the ones with a spout on the bottom, which makes it really easy to bottle the kombucha.
8 Tea bags (black, green, oolang, white tea, just not anything herbal or with oils in it. Different teas will make it taste differently, too.) per 4 quarts of water.

A non metal spoon (again...SCOBY's are sensitive - no metal)
Sugar
Apple Cider Vinegar
Cheesecloth
Rubberband


How to Brew:

Boil a little bit less than 4 quarts of water.
Add 8 tea bags
Steep tea 
Dissolve 2 cups of sugar while tea is still hot. (Sugar is what the culture eats. The more food, the faster it eats. During the summer, add less sugar unless you want kombucha batches coming out of your ears. In the winter, add more sugar to get it moving along faster.)
Let tea cool to room temperature (too hot or too cold will harm the scoby)
Pour tea into glass container with scoby and starter kombucha. 
Stir vigorously with a plastic or wooden spoon to distribute the culture.
Cover container with coffee filter or paper towel and rubber band.
Set in a relatively warm environment (~68 degrees. The warmer it is, the faster it will grow/brew. Room temperature is best. During the summer, place in a cool place, in the winter, place in a warm environment.)
Do not place in direct sunlight. 

How to know when it's done. 

It will take 5-7-9 days. I like mine milder so I usually do 6-7 days. The longer you brew, the more vinegar-y it tastes but also the less sugar there is and the more probiotics there are. We once left one for 2 weeks and it was gross but still drinkable...if you like that kind of thing.

Basically, after 6 days, if you like the way it tastes, you can stop there. That's what the spigot on a glass jar is handy for - tasting it from day to day. It's totally safe to just drink like this too. You can just pour a glass from this every day and never have to mess with bottles. You don't get bubbles or fruit flavor though, it's just raw. 

How to bottle it:

When you're done brewing, fill a large container or measuring cup full of the kombucha using the spigot on the glass jar. The spigot keeps the scoby from being handled and contaminated. It also keeps the culture fibers out of your drink.

Remember to leave a little bit of the kombucha in the brewing container to help out the next batch. I usually stop when I've drained to the spigot level.

How to double ferment with fruit juice - get carbonation BUBBLES!!:

Mix 50/50 fruit juice with kombucha and pour into bottles that can be air tight. Those latch-sealed brewing bottles work great, as do empty glass bottles with wine corks in them. Or wine bottles...whatever you want. 

Make sure to leave them at room temperature. 

Be SURE to release the gas every day so you don't get an explosion. One of my corks popped out in the middle of the night and ricocheted off the cabinet and scared the bejeezus out of me. Also, I forgot about one of the latch-sealed ones for about 2 weeks and almost went deaf when the air came whooshing out by my ear. 

The cultures in the kombucha will feed on the fruit juice sugar and in the absence of air, makes carbonation. If you don't want bubbles, you can just mix with juice and bottle them in a non air tight bottle in the fridge. Also, as long as you keep re corking the bottles, it will just keep fermenting as you drink it. It never DIES! Bwahahaha. 

You should be left with a smooth, bubbly, slightly tangy beverage similar to store bought 

If you have any questions at all, I would be MORE than willing to help you out! It takes a while to get things down but I've done most of that and put it here to make it easier for you to begin! 

Wednesday, May 2, 2012

Sea Glass Mobile

I have been planning to do this for quite some time with my bigger, less finished pieces of sea glass. It is, to date, my absolute favorite thing I have made and it brings me such joy every time I see it spinning in the sunshine. It was really easy to make, I just hot glued pieces of sea glass to fishing line and tied them to a piece of driftwood.


I love how bright the green ones are in the sun!


Wednesday, April 25, 2012

Gluten-free, Egg-free, Cane Sugar-free Chocolate Protein Bars


Whew, that was a mouthful of a title.

The day before I found out about my egg and sugar intolerances, I was spending time with my friend Lexi and we attempted to make Macarons. I already knew about my gluten intolerance and Macarons are gluten free so we decided to go for it! Macarons use almond meal for their main ingredient so we had a bunch left over when we were done.

I was poking around at it and mentioned to Lexi, "This would make a great base for a protein bar, wouldn't it?" Being the awesome, innovative lady that she is (she makes the most amazing things just by guessing measurements and they always turn out delicious!), she got right to it.

The next morning I found out that I was intolerant to sugar cane and eggs and was about to go crazy when I remembered that I could eat everything in the bars we had made the day before. I won't lie, I was addicted to sugar. I eat pretty healthy except when it comes to the baked goods department, and then I'm sunk. So, to know that I could still get my sweets fix and not be poisoning myself at the same time, that was great news. :)

These bars taste so good that sometimes I'll bite into one and get instantly scared that I'm eating something I shouldn't be. Yep. Guilty pleasures that aren't so guilty. :) Also, they're "free" by nature, not by replacement so they aren't really that expensive to make. That's a huge relief to me too, I've been really overwhelmed by the prices of gluten free baking ingredients.

Lexi and I made this up and I've further tweaked it so there's not really an exact recipe. It's just kind of one of those "sense it as you go" type of deals. You can substitute or tweak it as much as you want and I'm sure they'll still turn out great.

Approximate Recipe:

2 cups almond meal (We bought bulk almonds and ground them in a food processor)
1/2 + 1/4 cup raisins
1/2 cup shredded, unsweetened coconut (found it in the bulk section of my grocery store)
1/4 cup cocoa powder (dark is super tasty but regular is really good too)
1/4-1/2 cup Gluten-free oats (the only specialty thing you need. It's pricey, so I just used a little)
1/8 tsp salt
1/2 cup honey (pretty much use as much as it takes to make it all stick together)

Instructions

1. Preheat oven to 250 degrees.
2. Grind the almonds in a food processor or blender.
3. Leave about 1/4 cup of almond meal in blender and add 1/2 cup raisins.
4. Blend the 1/2 cup of raisins and almond meal (the almond meal helps prevent the blended raisins from becoming a sticky mass).
5. Mix almond meal, blended raisins, extra 1/4 cup of whole raisins, coconut, cocoa powder, gluten-free oats, and salt together.
6. Mix in honey until is all sticks together. Using your hands works the best. :P
7. Put into a lightly oiled 8X8 pan and bake at 250 for 10 minutes.

The salt adds a little bite to it all, without it I thought they were too sweet. Baking really firms them up and into and actual bar. For some reason the taste changes. Don't ask me why. :)

I hope you enjoy these as much as I do!

Here's Lexi's blog too, if you want to check it out!
Mrs. Lemonmint

Rachel


Friday, April 20, 2012

And thus, my journey begins...

I've been struggling with my health for quite a while now, but especially in the last year. I found an awesome naturopath in my area and she ended up recommending that I get tested for food allergies and intolerances. I did the allergy test and everything came back negative (I used to be allergic to peanuts and now I'm not anymore!) so she decided to test my intolerances as well.

She had already suspected gluten so I had been off of that for two weeks already when the test came back. I wasn't feeling any better so I knew there had to be something else. It turns out that I have a 6/6 intolerance to eggs (both the white and the yolk, as well as duck eggs) a 4/6 intolerance to wheat gluten, wheat, spelt, and rye, and a 4/6 intolerance to cane sugar. Cray-zay.

I was beyond thrilled at first because I finally know what is probably making me sick!! I have muscle aches, joint pain, constant headaches, horrid stomach aches, depression, anemia, and a really low energy reserve. And now I've found out that I can start feeling my age again?? AWESOME. This high lasted a little while until I realized how drastically my lifestyle would have to change. It's a good trade off, honestly, and I'm really not complaining...but it was still a shock.

I let myself be upset for a little while and then I kicked my butt into gear and decided to do something about it. If you know me at all, you know how much I love to bake...and not having cane sugar, gluten, or eggs at my disposal makes things a bit more difficult. Not impossible...but difficult. And more expensive...but more healthy. I know all of the plusses of eating healthier and all of the substitutions I can find, but it STILL SUCKS, okay?? I had just perfected my chocolate chip cookie, guys. For reals. So basically, yes I was upset.

This isn't tragic by any means, but it's still a little depressing to walk through the supermarket and know I can't eat 75% of what's there. And apples and almond butter are great snacks, but not when you want a delicious, sugary brownie or a creamy hard-boiled egg.

Plus, I'm a frugal person. Knowing that I might have to spend 3X the amount on special flours than I was previously spending did not make me a happy camper. But, knowing my nature, I'll find frugal ways of baking once I get into my groove.

I know I'll have moments of ups and downs, but I'm doing alright now. Yesterday I made my own allergen free chocolate chips and today I made an allergen free chocolate protein bar.

YES. I can do this!