Pages

About Me

Sunday, June 30, 2013

Photography Practice: Aperture Priority

I have become increasingly frustrated lately with my photos not coming out how I've imagined and I know it's user error. Shame on me! I've taken photo classes before but have slowly forgotten a lot of what I know so I decided to dig out my manual (genius, right?) and give myself daily lessons.

Today's lesson was on the Aperture Priority setting on my camera. My lovely friend, the manual, sums it up to being "You pick the aperture you want and the camera will adjust the shutter speed to let in the appropriate amount of light." GENIUS. Lately, I've been missing a ton of shots because I'm too busy fiddling with my shutter speed and aperture and getting a lot of over exposed and under exposed images. Boo. I'm usually a snob about doing everything in manual, but I need to cool my jets and start from the beginning. That and realize that it's the content that matters, not how I got there.

We have a lavender bush out back so I went outside in the searing heat (poor wimpy Seattleite...) and waiting to catch some bees in action. What do you know...because I wasn't constantly adjusting my shutter speed, I was able to focus on my, well, focusing. It's also helped that I've figured out ISO again, too, but that's for the next post!

Here's what I got! (They're all unedited, so I can mark my progress as I learn.)

I adore (ADORE) low apertures (these were taken at 3.5 and 4.5) because it allows for a narrow depth of field (only a small part of the photo is in focus and the background is generally blurry). They evoke a peaceful feeling in me when I look at them, like I'm rewarded with a secret world when I set aside the time to look for it.


It helps me to solidify what I've learned when I'm forced to explain it to someone else, which is the main purpose behind me writing these posts. I'm excited to learn more!

Rachel 

Thursday, May 23, 2013

Darn you, Zippers.

I have all kinds of sewing projects that I'd like to do...clothes and dresses, purses and curtains...but I'm never gutsy enough to just dive in. It's in my nature to think carefully and methodically about things until I grow impatient and just decide to take a nap. I used to think that living a life with no regrets was freeing, but not if you take so long to think so carefully about something that you forget to move forward. I've become scared that I'll make a mistake about something that I knew I had to do something...anything, to break that stupid cycle. I bought a dress for $3.50 at Goodwill, hacked away, and didn't stop until I was satisfied. This unfortunately culminated in my spending an hour and a half hand sewing a dumb zipper back on because I couldn't get the dress over my head, but NOW I KNOW. Instead of being scared of zippers, I now have a strong contempt for them. I love how the dress turned out and it felt good to not let myself be daunted by a simple challenge. Yay me.


Before: a baggy peasant dress...not what I was looking for. 


After: Much better for summer. :)
It's actually black and white stripes but looks gray in the photo. 

Monday, May 13, 2013

The Legacy of a Rancher.


This last weekend, Sean and I drove to Western Montana for his Grandpa's funeral. I am so thankful that we had the opportunity to be with his family, it was a beautiful time of sadness mixed with laughter and memories. I'm far more comfortable with pictures than words, so hopefully these will express beauty of a home and family sculpted by an incredible man. My husband wouldn't be half the man that he is had he not spent summers working with his grandpa and grandma on their ranch in Ronan...the KDBAR is a living expression of hard work, integrity, family and dedication. 


My favorite bend in the river on the way to the ranch.


Loading hay.


One of my favorites...How many men does it take to put oil in a tractor?
I have no doubt that his Grandpa would have had something to say about this. ;)


(Photo by Sean)
Uncle Wade is flipping the camera off, oh-so-discreetly.

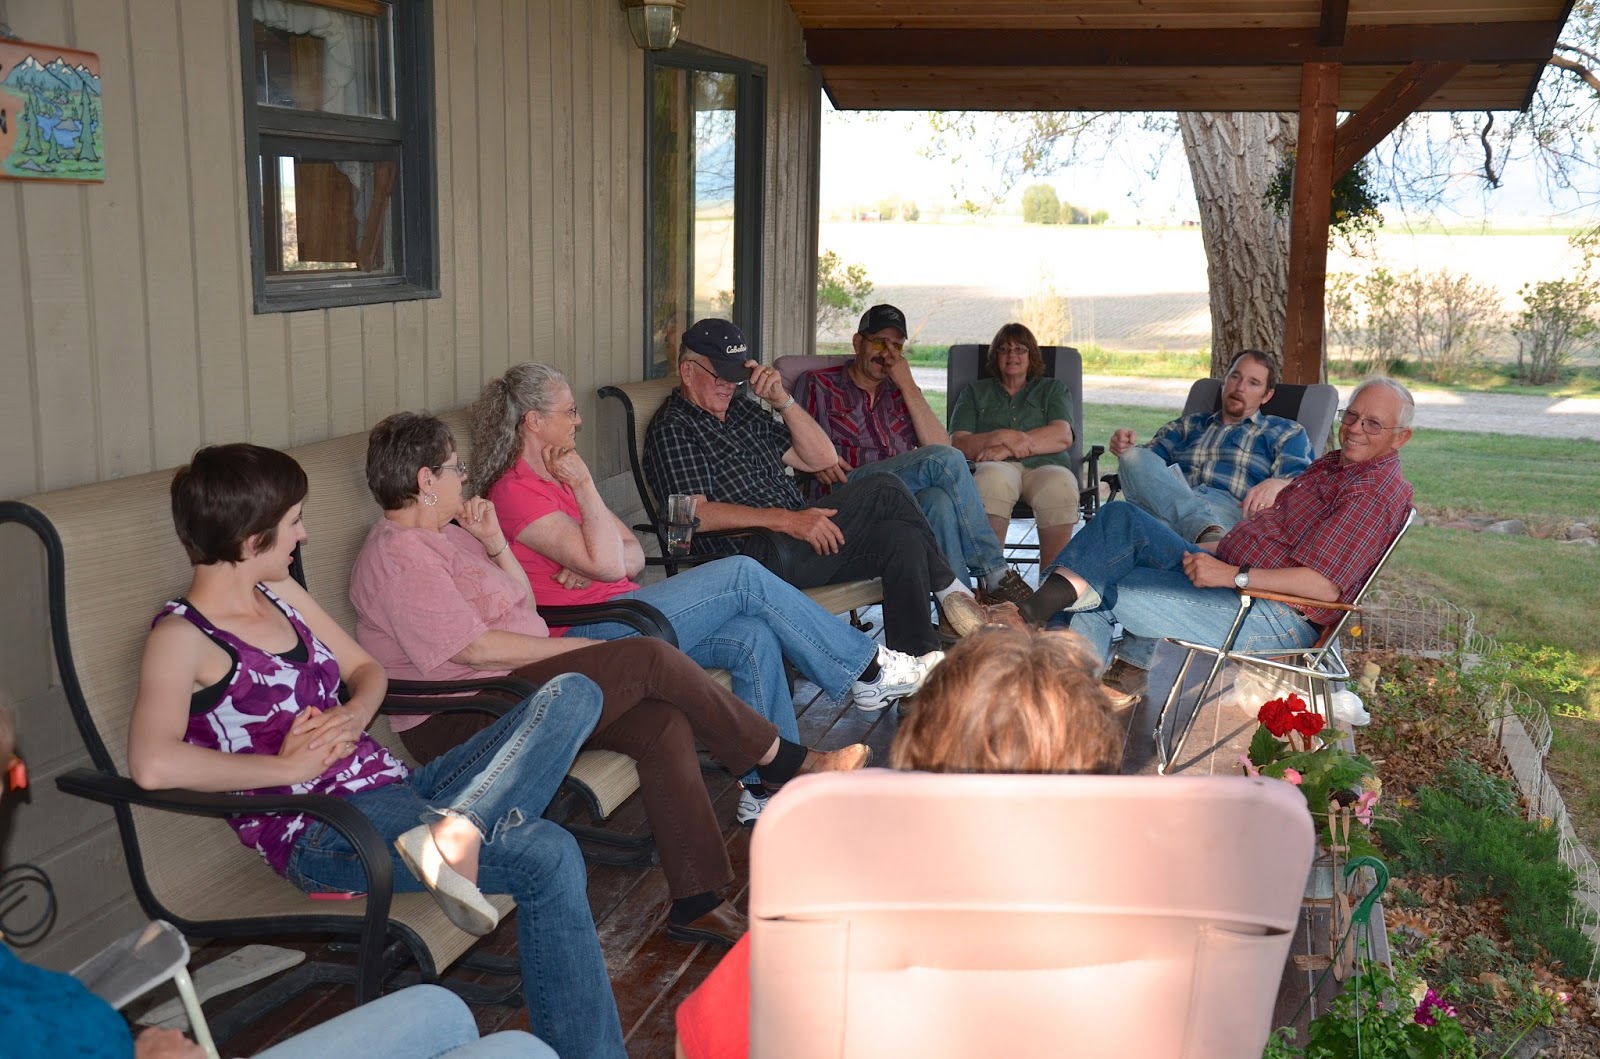
Spending time with family after the funeral.  
(Photo by Sean)

Sean's beautiful grandma and mom (my mother-in-law)


The ranch life is tough for kitties. 

Deer are a nuisance to the fields, but pretty to me. :) 
(Photo by Sean.)


The whole deal from the road.


Dan and Kathy's beautiful home. 


Sean and I went on a 4 mile ride around the neighboring ranches the night before we left.


These are my favorites from the weekend. Something about a now quiet shop in the evening light and the legacy of a hard-working man. 


I am blessed to be a part of this family and to have had the opportunity to get to know the man from whom my husband got the mischievous twinkle in his eye. :)


Sunday, May 5, 2013

Flax Egg Substitue - "Flax Eggs"

I have been using "Flax Eggs" for about a year now and have (mostly) perfected them through much trial and error. :) I'm too cheap to buy the Ener-g egg replacer, though it probably works a lot better in pastry type yumminess. Flax has a distinctive nutty flavor, which tastes great in breads but tastes a little bit interesting in brownies. Normal eggs act as a binder to hold your baked goods together and this is exactly what flax eggs do as a replacement.

They need time to set so I usually make them at the beginning of my recipe and add them when they have gelled.

Flax eggs are:
1 Tbls ground flax : 3 Tbls hot water

Ground Flax

1. Boil hot water and pour 3 tbls into a mug or bowl.
2. Add in 1 tbls of ground flax and stir.
3. Let sit for 5-10 minutes and check for consistency.
      If you have the time, place them in the refrigerator to get an even better texture.
      I usually just let them rest until room temperature.
4. Stir to see if they mixture has gelled or is still watery. It will stick to your spoon bit when it's ready.
5. Use in place of eggs in whatever recipe you choose.


(Not ready yet...)


(Ready!)


(Not ready yet...)
An un-gelled flax egg will have the
water on top and the flax on the bottom.


Ready!
What gelled flax eggs look like: a slurry. 


My mistakes:

-Don't place the flax and cold water in the microwave together...it explodes into a gooey mess.
-Don't microwave 3 tbls of water...it will evaporate and you will end up with less than 3 tbls of water and a wonky egg.
-Don't place the flax egg into a blender to see what will happen...it changes the consistency and is a giant gooey mess.
-Don't use while the egg is still watery! You must be patient and wait for it to thicken. :)


Monday, April 29, 2013

Handmade Veggie Burgers

Hello. I've been away for a while. I was busy with unimportant things that kept me from being creative but I got fed up with those unimportant things and now I'm back to creating important things, such as  veggie burgers and to-do lists of crafts I'd like to do. I have retrieved my creative spark back from the deep, dark, depressing place it went to hide when I started a certain job over a year ago... Hooray! I hate long intros to blog posts (just give me the damn recipe already!) so I will cease and desist and show you what I made tonight.

I love to eat veggie burgers, but not just any burgers...the Chez Marie ones in particular, because they don't taste like baby food mushed into a patty. The only problem is that they cost 4.50 a box...for 4...and I eat two at a time. But they're SO delicious! Anywho, I found a recipe and knocked them out. BAM. BURGERS. The taste is very comparable, but the price, thankfully, is not.

These, as previously stated, are 4.50/4 burgers/10 oz. = $1.12/burger (That's a darn delicious dollar though...and still cheaper than a latte (I compare everything I buy to the price and value of a latte)).


These beauties are .25 cents a burger! At the rate I eat them, I feel better about that price for sure and for certain. I'm a thrifty little bugger and saving money by making something myself makes me so very exuberant!


I also devised a geeeeenius way of wrapping them (in my humble opinion), at least for someone with sensory issues who hates getting their hands all yucky. 

Step one: Line a small container with a square of saran wrap.

(Hi foot!)

Step two: Scoop burger mixture into bowl and spread to edges.


Step three: Fold saran wrap in and squish down a bit.

Step four: Well hello there perfectly shaped and wrapped little burger! 


Best part is they all come out the same size, shape, and thickness and they're
already wrapped for freezing! And my hands were clean!

Here's the recipe I used, with a few alterations. Make Your Own Veggie Burgers


Tuesday, January 22, 2013

Tree and Birds Dry Erase Board

I made this whiteboard about a year ago but then realized eventually that I never actually used it...


...so I turned it into a better and much cuter whiteboard for my mom for Christmas!


We have so much burlap leftover from my wedding that it's kind of joke between us to see what kind of crafts we can make with it. :P She also loves birds so I made a little birdie family for the branch.
(L-R: my brother, Mom, Dad, myself, and my husband.)


Much cuter than just a blah background, ya?


Double Chocolate Chip Muffins (Gluten, Egg, Dairy, Sugar-Free)


I found a particular gluten-free blueberry muffin recipe a while back from a beautiful Canadian blog called Pocketfuls (another example of Canada's awesomeness!) that I make all the time. The blueberry recipe is absolutely excellent, but it doesn't quite satisfy when I'm craving double chocolate chip muffins, so using Lisa's recipe as a base, I created one that would work for my chocolatey desires.

Here is my adaptation! They're creamy, moist, and richly delicious even though they don't have dairy, eggs, sugar, or gluten!

Dry Ingredients:
1/2 cup Millet flour
1/2 cup Sorghum flour
1/2 cup Tapioca starch
1/2 Oat flour (I grind up oatmeal)
1/4 cup plus 1/8 cup cocoa powder (I know it's a weird measurement, but it's perfect.)
2 tsp baking powder
1/2 tsp baking soda
1/2 tsp sea salt

Wet Ingredients
2 mashed bananas
3/4 cup canned coconut milk
3/4 cup grapeseed oil
4 TBLS honey
1 TBLS Applesauce
1 tsp Vanilla
A handful of my Handmade Honey Chocolate Chips

1. Make chocolate chips ahead of time to give them time to set.
2. Mix together all wet ingredients and add into mixed dry ingredients.
3. Fold in chocolate chips.
4. Pour into a non stick muffin pan and bake at 375 degrees for 20-25 minutes, but check at 20 minutes.
5. Enjoy!

Thank you Lisa from Pocketfuls for your beautiful blog and inspiration!

1/25/13: I randomly decided to add raspberry jam in the middles of the next batch I made. De. lic. ious.


Fill up half of the muffin cup, put a blob of jam in the middle, and then scoop more batter on top. 
(Pardon cruddy cell phone pictures.)


Oozy, yummy, gooey raspberry. :)