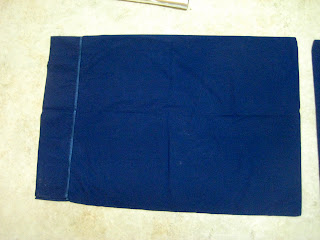
The first time I ever saw an example of bleach pen art, I knew I had to do it as soon as I could. I am an avid fan of tie dye and to me, this is like it's second cousin once removed. The changing of fabric, the waiting, the anticipation, and the ability to make your own design are what excites me about both!
Here are the ingredients:
Something to bleach that is 100% cotton - anything synthetic won't absorb the bleach.
Chalk - to outline your design if you don't want to do it free hand.
Tin Foil - to put inside of what you're working on so it doesn't bleed to the other side.
Bleach pen - I used the Clorox ones and I found them at Walmart.
A clean place to rinse off your creation - I used my shower.
A ventilated work area - I didn't pay attention to this and had a roaring headache later that night.
Rubber gloves - also didn't pay attention to this...you probably should seeing as it's bleach and you probably like your skin. ;)
A protected workplace where nothing else will accidentally get bleached - I did it on my kitchen floor.
Random tidbits:
Shake the bleach pen well and test out the first squeeze on a paper towel. This prevents a huge blob that ruins your design (or makes it better! It depends on how you look at it.)
Squeeze steadily and move in a continuous line. Starting and stopping will make your lines look blobby.
Don't make your design too detailed as the bleach does spread a bit as it sets.
Tighter weave fabric takes longer to bleach. I left it on these pillow cases for 30 minutes the first round, and overnight the second round. A T-shirt I did only took like 10 minutes.
I started out with two pillowcases I found at GW for a dollar, just in case I messed it up somehow. ;)
Then I drew my design in chalk:
Then I placed the tin foil under my design and traced over it in bleach:
I freaked a bit when I saw the dark blue spread stains, but that's not where the bleach stained at all...it just must be water or something. I dunno!
You can see in the one above the dark spots around the letters I was talking about. Also, the white is the chalk, not the bleaching happening. Since this was a tightly woven fabric, the bleaching happened directly underneath where the bleach was. It didn't spread much.
Here it is after I rinsed it in the shower and dried it in the dryer.
It turned light blue. I thought it was boring so I drew some designs.
I left them to set over night, rinsed them out the next morning and Voila!
It was super easy and really fun to do!


would this also work, if I would use simple bleaching products for hair colouring? There is no walmart in my town and I never heard of bleach pens. hair colours (meaning the hair-bleaching stuff) I can handle with at least. And this pillows look gorgeous XD
ReplyDelete